This guide will show you how to easily install Stable Diffusion on your Apple Silicon Mac in just a few steps. Stable Diffusion is like having a mini art studio powered by generative AI, capable of whipping up stunning photorealistic images from just a few words or an image prompt. Whether you’re a creative pro or just curious, this is your ticket to some seriously cool visual creations!
Open a Terminal window:

Install Homebrew if you have not done so in the past. Paste the following command:
/bin/bash -c "$(curl -fsSL https://raw.githubusercontent.com/Homebrew/install/HEAD/install.sh)"
Install the following packages by pasting this command:
brew install cmake protobuf rust python@3.10 git wget
Install the AUTOMATIC1111 repository by pasting this command:
git clone https://github.com/AUTOMATIC1111/stable-diffusion-webui
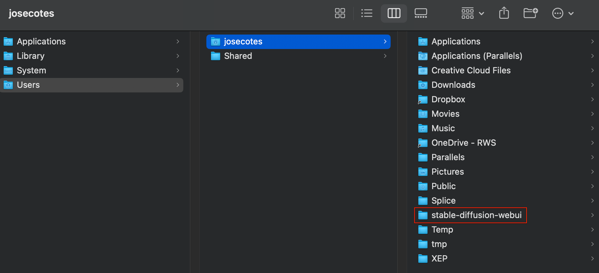
You will see the following directory under your personal root folder:

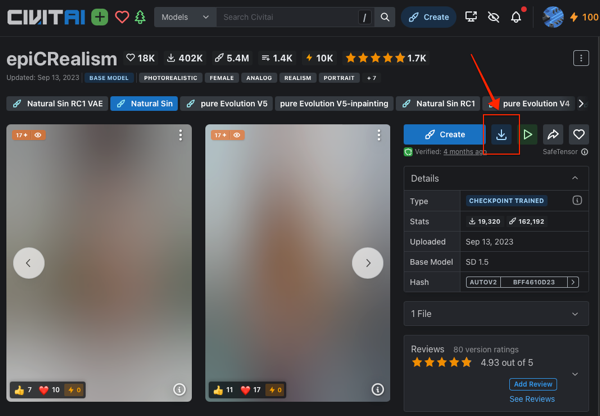
Install 1 model to test that everything is working. Download the epiCRealism Model. Got to this link and click below to download:

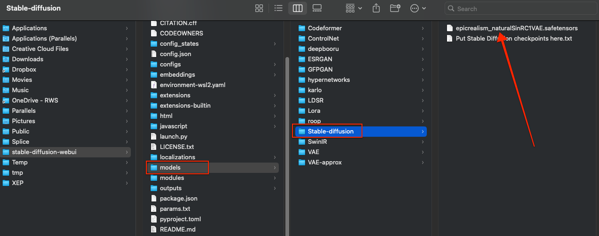
Copy or move the downloaded file to this folder. stable-diffusion-webui/models/Stable-diffusion/:

To run the platform, paste the following command in the terminal window. You will need to do this if you restart the computer:
cd ~/stable-diffusion-webui;./webui.sh --no-half
To open different browser windows with the platform paste the following address:
http://127.0.0.1:7860/
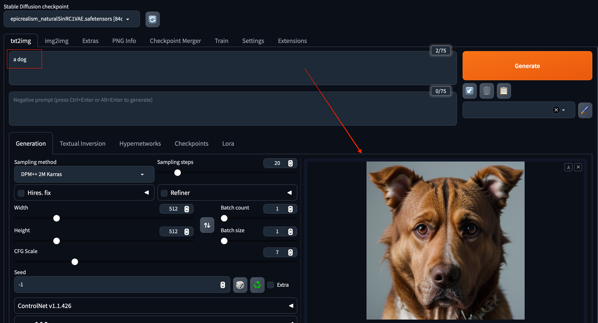
Test it out by writing ‘a dog’ in the prompt window. A dog should be drawn:

All set!


No Comments